Screen split has long been a part of the Windows OS, though earlier, it was only possible to divide the screen into 2 parts. With Windows 10, Microsoft has made it possible to split the screen into more than 2 parts and renamed the feature to Snap Layout. Now you can divide the desktop screen into up to 4 pre-defined areas and work on 4 different apps simultaneously.
Why is my split-screen not working Windows 11?
The snap layout feature needs to be enabled explicitly in Windows 11. If your system is not working in split-screen mode, chances are, snap layout is not enabled on your system. In such case, you will be restricted to using 2 screens in the split-screen configuration. To use the snap layout feature, enable it first through Windows settings.
How do I enable split-screen on Windows 11?
Press the Windows key on your keyboard and select Settings from the Start menu that appears. Go to System > Multitasking. Make sure the toggle button next to the Snap windows option is set to On. After enabling the feature, you will see the available layouts when you hover over the maximize button of an application window.
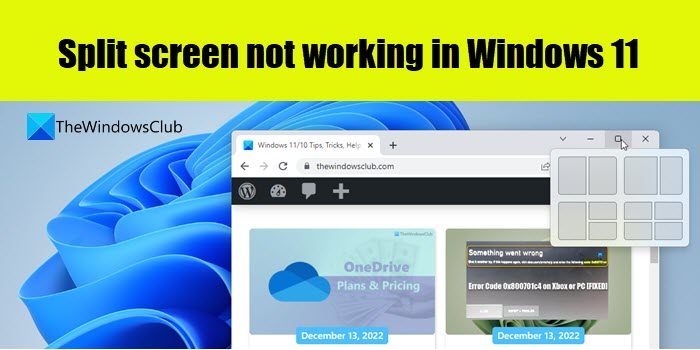
Split screen not working in Windows 11
Let us see these in detail.
1] Update your Graphics driver
An outdated graphics driver may cause issues with the split screen feature in Windows PC. Though Windows automatically updates these drivers if you’ve enabled automatic updates, you can manually update these drivers or visit your graphic card manufacturer’s website (such as AMD or NVIDIA) to install the latest available driver updates on your Windows PC.
2] Adjust the Display Resolution of your Windows PC
If your system’s display is not able to properly fit in multiple windows in the snap layout, try changing the display settings to fix the issue. You may switch between various display resolution options to see which one works for your PC.
3] Restart File Explorer
File Explorer is a GUI-based file management utility that allows users to search and access files, folders, and other components, such as desktop and taskbar on Windows PC. If the issue is with File Explorer (explorer.exe), restarting the program may help fix the issue. Right-click on the Start menu button in the Windows taskbar. Select Task Manager from the WinX menu. Click on the menu icon (three vertical bars) in the top-left corner. Icon names will appear on the left panel. Click on Details. Details of the running processes will show up in the right panel. Select explorer.exe and click on the End task button. Relaunch File Explorer and check if the issue is fixed. Read: Explorer.exe High Memory or CPU usage in Windows.
4] Check if the app supports the snap layout
A few apps may not be able to snap properly since their minimum window size is larger than the maximum size of the pre-defined areas in the split screen configuration. The app should have a minimum width of at most 500 effective pixels (epx) to support the snap layout.
5] Run SFC scan
SFC stands for System File Checker and it is a Windows utility that helps in diagnosing and troubleshooting system issues. If you’ve recently made changes to the registry and it didn’t go well, then wrongly modified system files may cause random glitches in your system. This can also cause the ‘split screen not working’ issue. To identify and fix corrupt system files, you should run an SFC scan. Then reboot your system. If the SFC finds any corrupt files, it will fix them during the reboot. Hope this helps. Read Next: How to use Snap Bar in Windows 11.